Ever since I tried Petrol, I've kind of been a little obsessed with this particular Sally Hansen line. When I saw that CVS was having a BOGO FREE for this line I made sure I went to check out what colors (if any) were left at CVS. I read the reason why these are being cleared from drugstore shelves is that the company is reformulating the line. I hope the new formula is at least going to be on par with the old formula. But I'll probably wait for a sale before I try the new formula version...heh!
Surprisingly, the selection at the CVS I usually go to was almost untouched (a big contrast to Walgreens). I guess compared to the Walgreens prices ($1.99) the CVS "sale" didn't look as appealing? Nonetheless, I was excited to see all the choices available! In the end I decided to choose the colors below. (The fourth one I picked up is going toward the giveaway!)
I've been wanting to try a red polish and a black polish for a while now but never got it because those are colors I feel I wouldn't wear too often. Especially since I have always associated red polish as a more mature shade. But since these were on sale and I liked their formula enough, I didn't mind making the purchase.

Sally Hansen Complete Salon Manicure in Right Said Red, Red Zin, & Midnight in NY
However, I was not very happy with the tricky sales method CVS had though...(well at least the CVS I went to). I went into the store having read that this particular polish selection was BOGO FREE. After I chose the polishes I wanted to get, I went to their price scanner to just to make sure they were on sale. Lo and behold, the Midnight in NYC (the black polish) was the only one to come out as BOGO FREE...while the two red polishes were BOGO 50%.
I asked someone (who I'm assuming was the store manager) and was told in an annoyed tone that only certain colors were BOGO FREE and I'd have to check all the polish prices if I wanted that promotion. Afterward I even checked their in-store circular to make sure what the actual sale was in case I read something wrong or the store had different terms than what was posted online...but that was not the case. The ad clearly said BOGO FREE for the Sally Hansen Complete Salon Manicure polish line and BOGO 50% for every other Sally Hansen line (excluding the Complete Salon Manicure polishes). In the end, I bought the polishes anyways because one of the red polishes only had one bottle left (impulse much? hah).
I don't know about others but in a way, I feel a little cheated...Or am I just overreacting and should just be happy that there was a sale in the first place?
Anyway!! Back to the polishes.


One layer of each polish.
Since they're all a jelly like formula they can be a bit on the translucent side if applied a certain way (like how the black color shown above is a bit patchy). I'd recommend not to fix the first layer when wet. Just to wait for it to dry and then touch up with a light second coat instead.
I'm still warming up to Right Said Red, the fire-engine red on my pinky, but it is a really pretty color!
Red Zin is a gorgeous blood red shade. Especially because of its jelly consistency it looks as close as nail polish can get to real blood, don't you agree? I never thought I'd ever buy this color because it seems difficult to pull off...but I ended up liking this shade the most of the three.
Midnight in NY looked like a really nice black with micro shimmers which kind of emulated stars in the sky (hence the name), but sadly it didn't translate very well onto my nails. Instead, it was ended up looking like a normal jelly black polish. In certain angles, you can see the micro shimmers but is close to being microscopic. I guess in a way it is an accurate depiction of the sky in NY since it is pretty difficult to see stars in the city. Maybe I'll grow to like this polish the more I wear it?

Two layers of each polish
Sorry for the blurry photo! I'm not use to taking photos with my left hand. It was surpisingly much harder to handle a DSLR and control focus with my left hand than I thought...
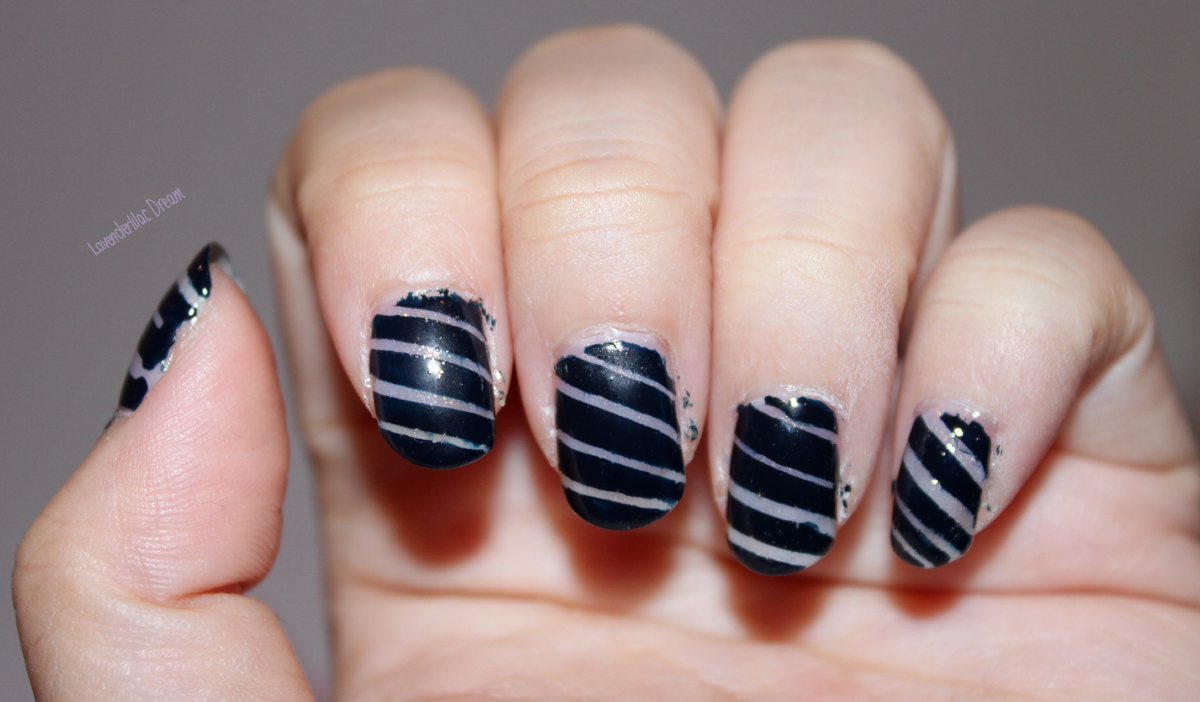
Since I didn't feel like taking off the polish I just decided to practice the tape nail art method on my pointer and thumb. These came out much better than the last attempt! (Yes I do have different designs and colors on my left and right hand. I didn't think I'd be able to wear these out comfortably and confidently but I've been sporting these for 2 days already!)